Backups are crucial nowadays. Although the reliability of the hardware is higher than compared to 10 years ago, number of threats increased. Imagine the website got hacked and as a result hundreds of website files got infected. What you gonna do? The easiest way would be to wipe out everything, restore the backup and patch the vulnerability.
In the same time, if you store the backups locally, they can be either removed by the attacker or injected with the malicious code. So, the must have option today is remote backups and luckily cPanel offers easy solution.
Backup configuration
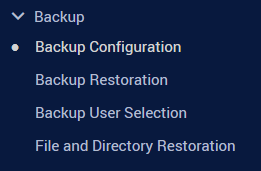
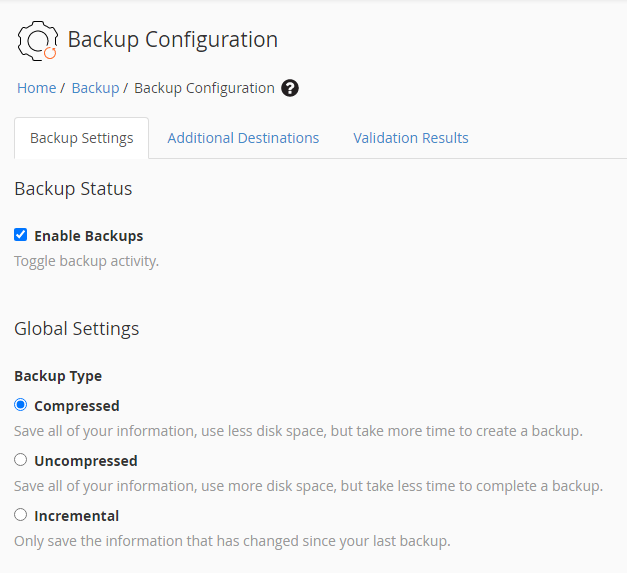
Login to WHM and navigate to Backup > Backup Configuration
- Enable backups.
- Choose backup type (compressed/uncompressed/incremental). Compressed will take more time to backup than uncompressed but less disk space. Incremental will only save files which were modified since your last backup.
- Check available space. We recommend to set this to at least 10%. It’s very important that your server has enough disk space prior to backup, otherwise your server can fail from normal operation when the disk usage is close to 100%.
- Schedule and Retention. Schedule is how often you want your server to create backups. You can select daily and select the days of the week. You can also select weekly and monthly. Retention is how many backups you want to keep on the server. For example, if you set retention at “two” and you run daily backups, you will always have backups for today and yesterday, older backups will be replaced with the new ones.
- Files. Select Users and there you will be able to choose which accounts you want backups to run for. If you forget to do this, no backups will be created despite all the settings you have done.

- Backup System Files. This is needed for restoration of the whole server.
- Backup SQL Databases. Per account is more than enough.
Next select the backup directory and since we are talking about remote backups, decided if you want to keep a copy of your backup locally or you want to delete it after it’s transferred to the remote location.

Save.
Remote Backup Destinations
Scroll up to the top of backup configuration where you will see two more tabs:
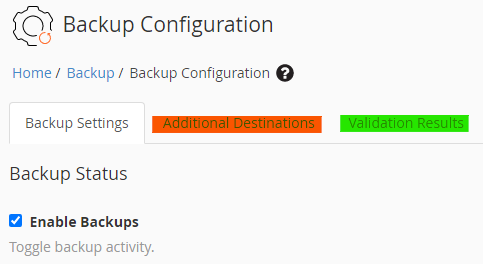
Go to Additional Destinations.
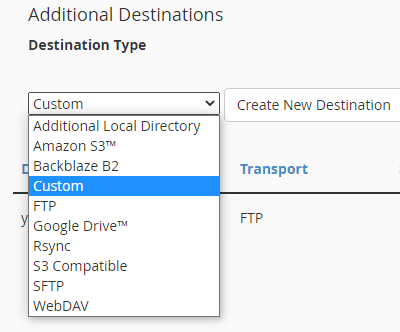
Choose where you want your backup to be sent after completion. There are plenty of options: FTP, Amazon, sFTP, rsync etc.
For example, you choose FTP
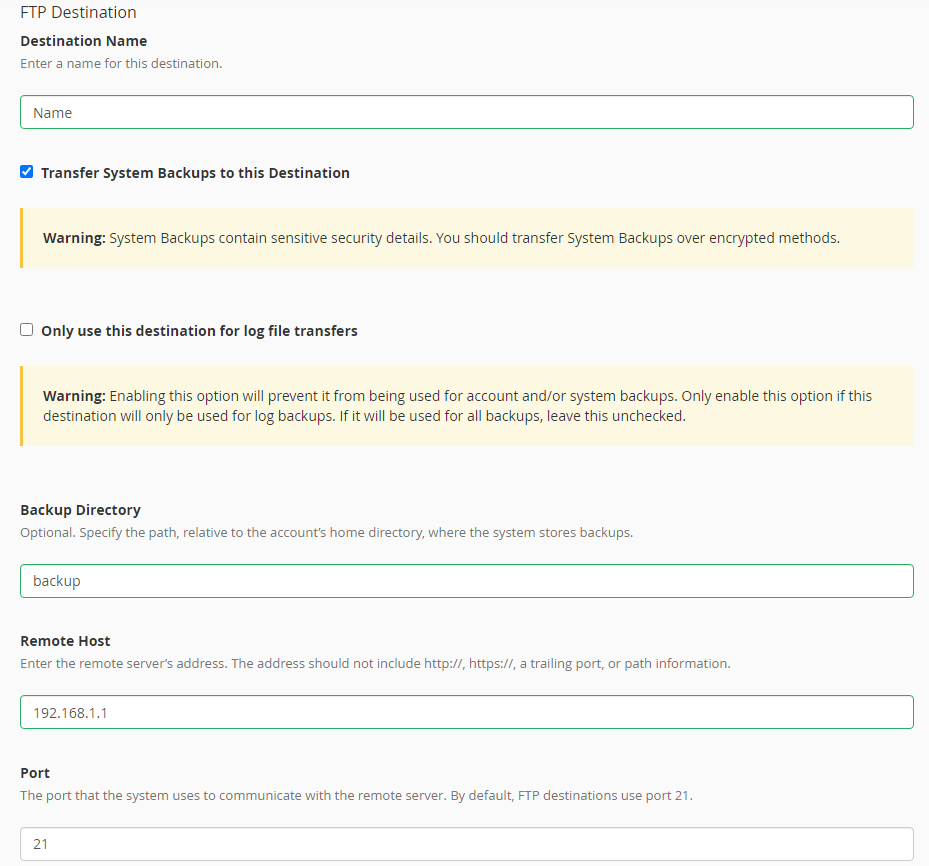
Enter all the required details, like it’s shown on the example above. After that, select Passive FTP to prevent any connection problems to the ftp server.
Save.
Validation
Now go back to Additional Destinations and Validate your newly added remote backups destination.

If your server is able to connect to the remote backup server, you will see the message below.
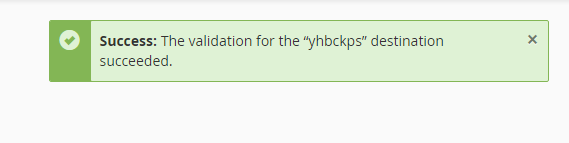
Congratulations! Now your backups will be transferred remotely.