Hacking attacks can be one of the most troublesome things happen to the website. It can cause thousands in losses as long as heavy brand damage. And sometimes website owners may not even suppose that their website is infected. In this article we will talk about how to remove malware from the website on a cPanel server.
There are different types of malware, viruses and backdoors: ones can be silently sitting and exploit your server in the bot-net, another can target your website operations directly. We have seen both and most time websites running on popular CMS like WordPress are affected.
We do not say that WordPress is not safe to use but it’s popularity along with huge amount of available plugins makes it: 1. number one target for vulnerability discoveries by hackers 2. lack of most website owners of technical knowledge leads to poor security practices. Installation of dozens of plugins and not maintaining them and WordPress itself in the up-to-date state.
Recently we have talked about how to level up your cPanel server security (here). Today we gonna talk about how to detect malware and counter it.
Imunify Anti-Virus
Imunify is without exaggeration the most powerful tool to combat malware in cPanel. It can identify the infected files and clean the malicious code. It can also provide real-time protection.
In most cases it enough to harden the server security, update all password and then run the automatic scanner and cleaner. If you think you can manually remove the malware, give me a break.

As you can see scan resulted in over 4k infected files found on a simple WordPress online shop. When we first started to clean malware manually, infected files were re-uploaded automatically.
Imunify for cPanel scans and then you can run automatic clean up of the infected files (in paid version). In free version you can see the infected files and path to them and can manually clean.

Let’s go ahead and see how to install Imunify and to run a scan.
Install Imunify
Login to WHM. Find Security Center > Security Advisor.
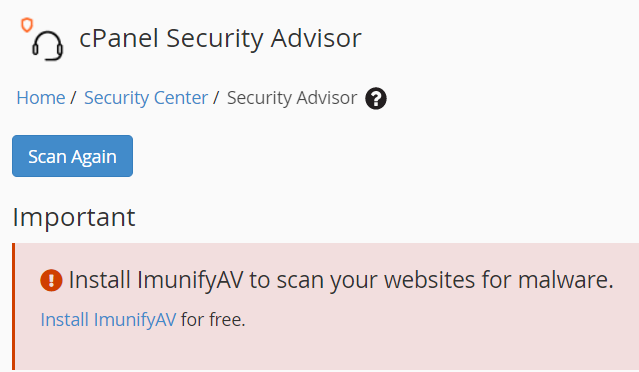
Proceed to Install ImunifyAV.

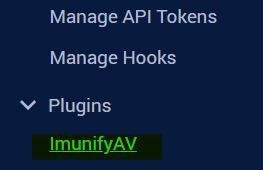
Once installation is complete, you will be redirected back to the Security Advisor. You can find Imunify management page under Plugins in WHM.
ImunifyAV scanner
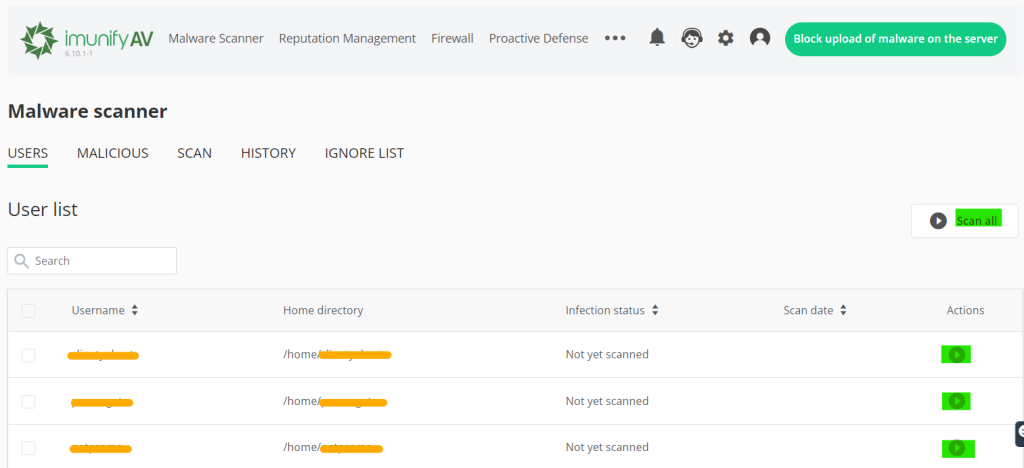
From the main plugin page you can either Scan all account for malware or perform per account scans. See the picture below.
If there is no malware found, you will see the message like on the image below.

If there is a malware, you will see the threats found and option to clean/remove files.

In the History tab you will be able to see the found threats – file names and path to them. If you are running ImunifyAV+ or Imunify360, you will have an option for automatic clean up. No worries, backups of the removed files will be created, so you will be able to restore the files if something goes wrong.
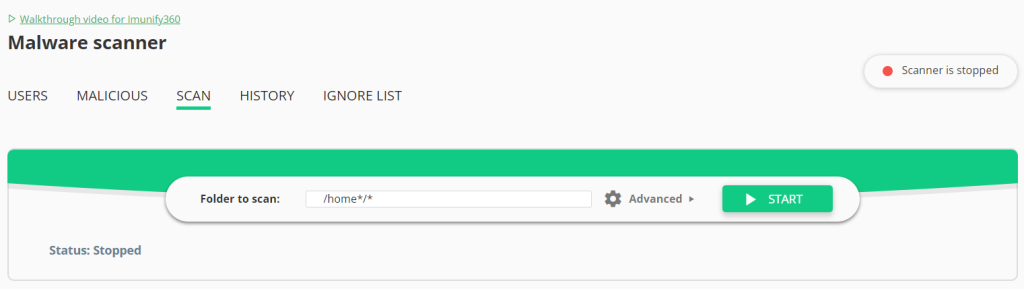
You can also scan a specific directory of the website for malware if needed.
WP Toolkit
If you are running a WordPress website and it got infected, another powerful tool to use is WP Toolkit. After you clean up the malware from the website with Imunify, chances are that some files got corrupted. In fact usually malware completely replace original files, so either you need an old backup of those files or you can use WP Toolkit.
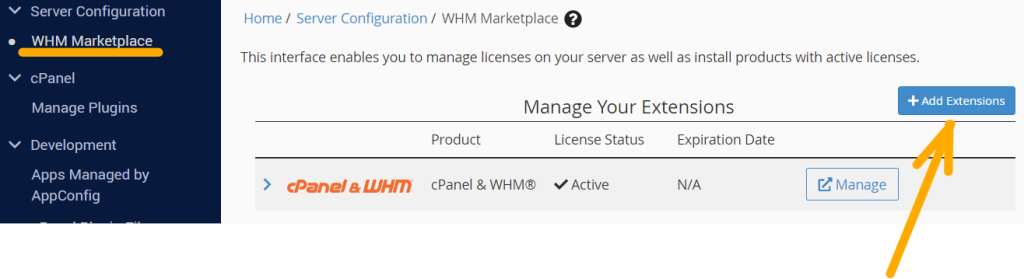
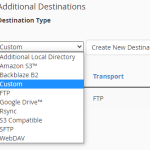
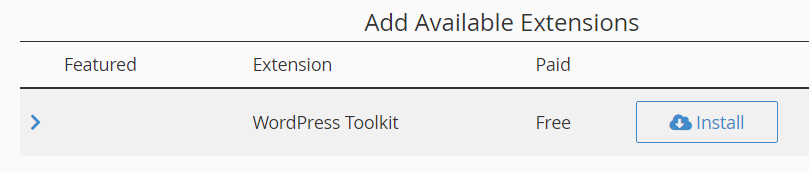
You can install WP Toolkit by going to Server Configuration > WHM Marketplace. Then select “+ Add Extensions” and you will see an option to install WP Toolkit.
After it’s installed, you can access it within Plugins, just like Imunify.
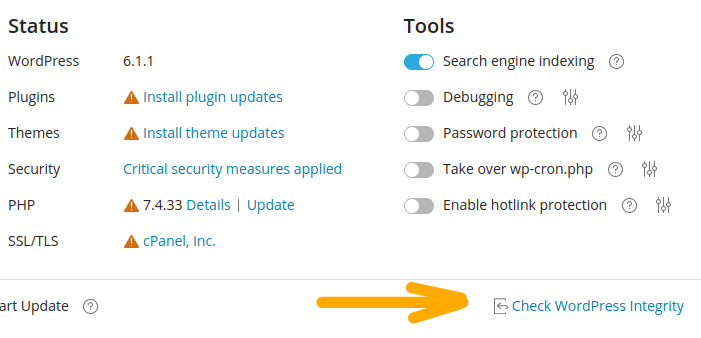
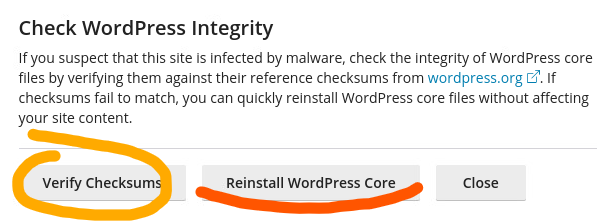
In the bottom of the plugin you can find “Check WordPress Integrity” which allows to verify all core files of your website.
If some files fail integrity check you can re-upload the core files with a single click of a mouse.
This is very useful since usually malware modifies core website’s files a lot while tools like Imunify can only detect malicious code an clean the whole file. Then corrupted files should be replaced with un-infected ones. WP Toolkit does a very good job in this.
Summary
Let’s summarize the process of “healing” of an infected website:
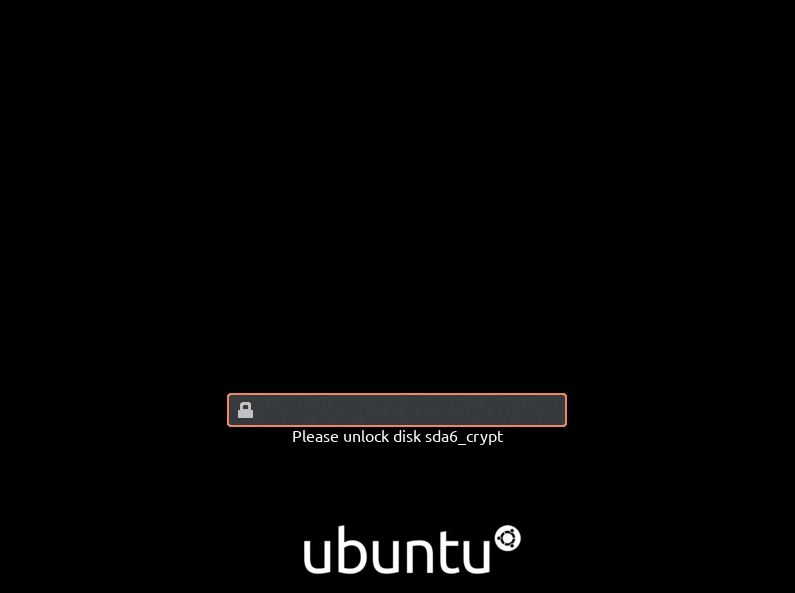
- Harden your server’s security (disable ssh, ftp, update all passwords).
- Install Imunify for WHM/cPanel.
- Scan the accounts.
- If running a free version, then manually remove infected files.
If running ImunifyAV and above, use auto clean up. - (WordPress) Install WP Toolkit
- (WordPress) Check core files for integrity.
- (WordPress) If integrity check fails, re-install core.
You can always make few extra steps and check installed Plugins. Outdated plugins should be either updated or disabled. However plugins with security vulnerabilities should be disabled.