This is a follow up article after our recent guide about how to enable Wireguard tunnel on the existing Pritunl installation. If you remember we decided to write that article after we struggled enabling Wireguard. We manage to do it after trial and error.
But before we made it we tried different settings. We were switching protocols from UDP to TCP back and forth. Set different virtual network for the WG protocol etc.
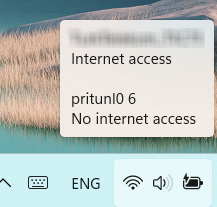
Pritunl “no internet access”
Eventually when we managed WireGuard option to work in our Pritunl client, we noticed that:
- original IP was leaking
- it seamed like although Pritunl VPN client was connected, Internet traffic was going through the default Internet Adapter (“no internet access”).

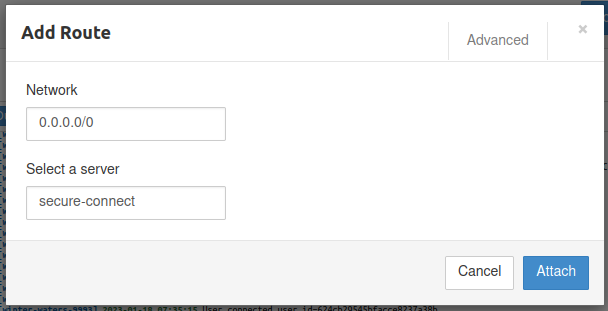
After a little investigation we notice that default route 0.0.0.0/0 was removed from our server settings. But this route tunnels all traffic through the VPN and should only be removed if you want to tunnel traffic for your own private network.
So basically, when we connected to the VPN our traffic was not going through it and it found its way through the default Internet adapter.
Solution
To resolve this we simply needed to add 0.0.0.0/0 route back. This is shown on the image below.

Once we got our route back, both OpenVPN and Wireguard connections started to tunnel traffic via VPN and no more IP leak occurred.


