From time to time our customers face DDoS attacks and one of the mitigation tools we use is Cloudflare. We have already described basic anti-DDoS settings in our previous article, but since then Cloudflare modified functionality of free accounts and it’s time to re-visit this topic.
Initial configuration
There are few things to keep in mind before you start your fight against the DDoS attack. First, we need to prepare the ground.
DNS Leak
Make sure you DNS are not leaking your source server IP and all records are in Proxy mode. If your server IP is known to the attackers, they will be able to attack it directly by-passing Cloudflare.

I have to say in advance that if your emails are hosted on the same server, Cloudflare reveals the IP in order for emails to work. So either your email records should be turned off or ideally emails should be hosted separately.
If prior to attack, Cloudflare proxying was disabled, most likely the attacker already knows the IP and it’s better to ask your provider for an IP change before you enable the DDoS protection.
Combating the DDoS
There are several powerful tools available in free account which can stop almost any attack or at least discourage the attacker. Let’s revise them step by step. All the settings are located in the Security tab.
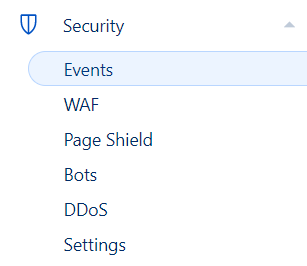
1. Enable the DDoS protection
Navigate to “Security” > “Settings” and select “I’m under attack!” in the Security Level settings. See the image below.

In the Challenge Passage you can define how long the visitor can view the website without additional captcha requests after successful initial Captcha verification.
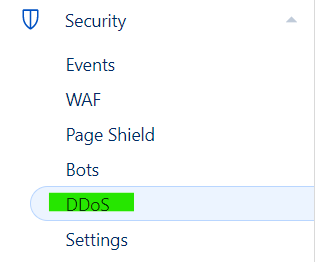
2. DDoS Ruleset configuration
Navigate to DDoS settings if you want to create a custom override of blocking and challenging rules.
Here Cloudflare offers a managed pre-configured list of rules to filter malicious traffic. It is possible to override the settings of these rules if you want to create more or less aggressive traffic filtering.
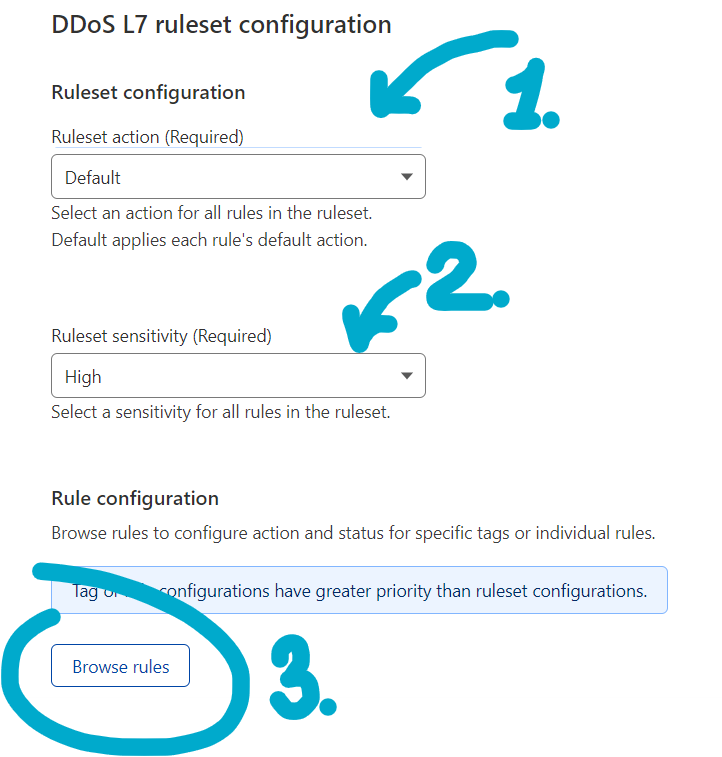
Here you have several different options: – Ruleset action, choose what you want to do with requests matching the rule. Block, challenge, captcha or default. – Ruleset sensitivity, choose how aggressive will the rule be towards the suspicious requests.
Finally, you have Browse rules where you can review all traffic filtering rules and modify each and every of them. Most of them already pre-configured for the optimal performance.
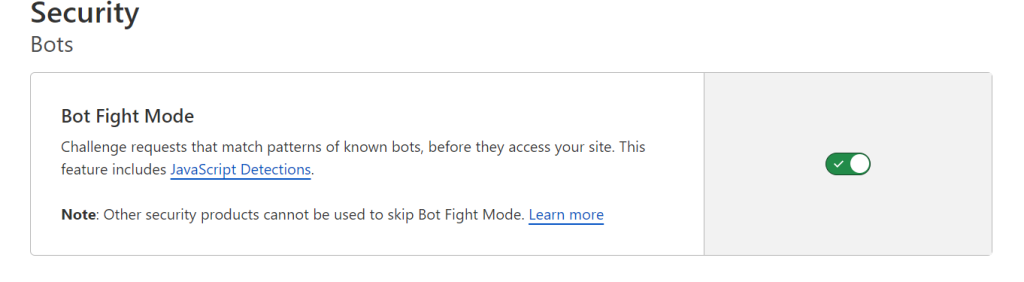
3. Bot Fight Mode
The next feature is quite powerful. Most of the DDOS attacks are run from the botnets, from millions of unaware owners of infected computers. Cloudflare provides DNS for millions of websites and hundreds of them face DDoS attacks daily, thus it has ability to identify the IPs used in the botnets. Navigate to Bots and enable Bot Fight Mode, like it’s shown on the image below.
4. WAF (Web Application Firewall)
We finally got to the most comprehensive tool available in Free account – WAF or Web Application Firewall. WAF consists of 4 tools: Firewall rules, Rate limiting rules, Managed rules and Tools. Managed rules are not available in free account. But the most powerful tool against attacks has recently become available for free. It’s Rate Limiting. But let’s go one by one.

Firewall rules. In free account we can create up to 5 firewall rules. What are these rules? This can be rule blocking requests from a certain countries, continents, requests to specific URLs, requests based on specific user agent and many many more. The most common is blocking specific countries, known botnets and more advanced – user-agents.

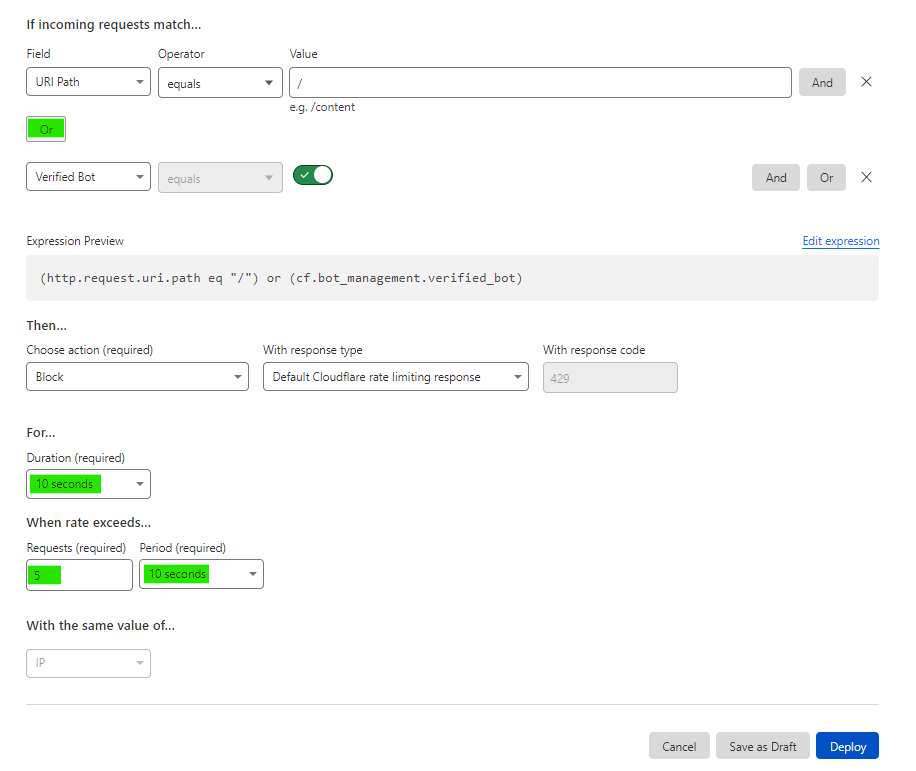
Rate limiting rules. We have 1 rule available for free but it’s more than enough in the most cases. Rate limiting allows us to filter multiple requests sent from the same IP. Usually attackers send dozens or even hundreds of requests from same IP and when we identify these IPs and block, the attack degrades a lot.
See below for the example. We have set to block every IP with 5+ requests per 10 seconds. These are quite harsh settings. If the attack is not very strong, you can experiment with this value to avoid false positive blocks.
Tools. Here you can set IP access rules. The rules can be applied either to one website or to whole Cloudflare account. This is just a handy tool to quickly block offending IPs.
5. Events
Events is a powerful tool for analyzing the traffic and detect similarities of the attacking requests.
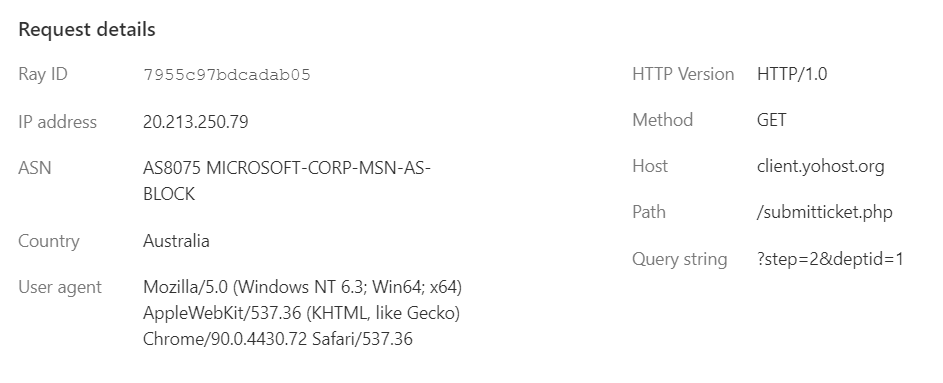
Sometime attackers target certain URL of your website and you can spot and filter it. Sometimes attackers use same User agent and you can create a custom firewall rule for it. Or you can see majority of malicious requests from a few ASNs (network) and block them.
Combating an attack requires patience and experience. Many of the tools described here can be not very useful on its own, but if used together it adds up. DDoS mitigation is a methodical process, when you step by step identify the vector of attack and little by little close the door for the attackers. And we hope this beginners guides to combating the attack with free Cloudflare account will help you in this uneasy task.